")
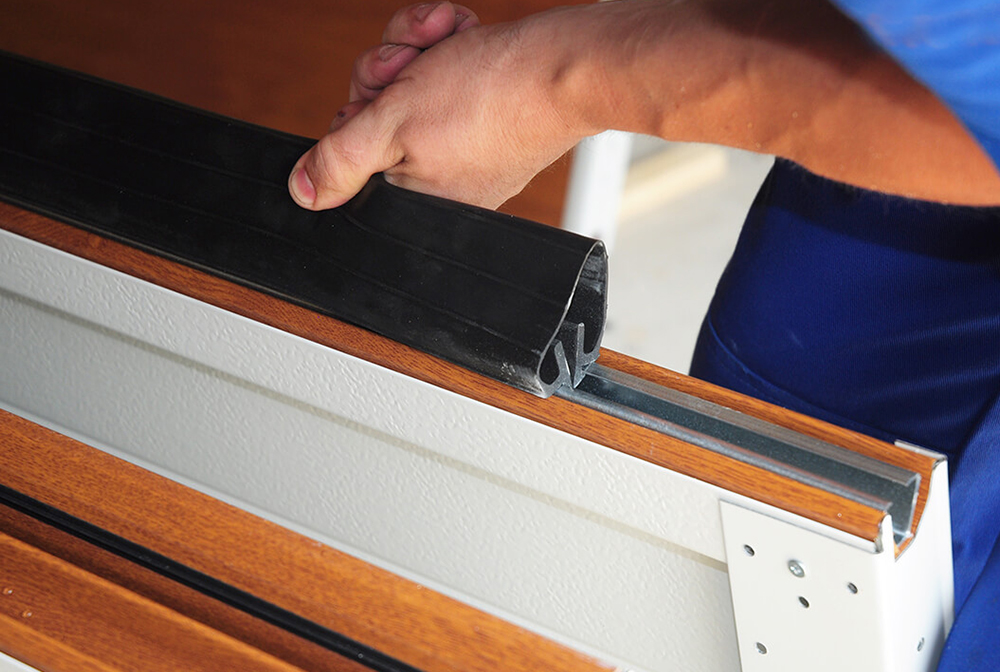
Installing garage door cables can be a challenging task, but with the right tools, safety measures, and guidance, you can do it efficiently and effectively. At Non Stop Garage Door, we’re committed to providing you with detailed, easy-to-follow instructions to ensure your garage door operates smoothly and safely. In this comprehensive guide, we’ll cover everything you need to know about installing garage door cables, from the necessary tools to a step-by-step installation process.
Understanding Garage Door Cables
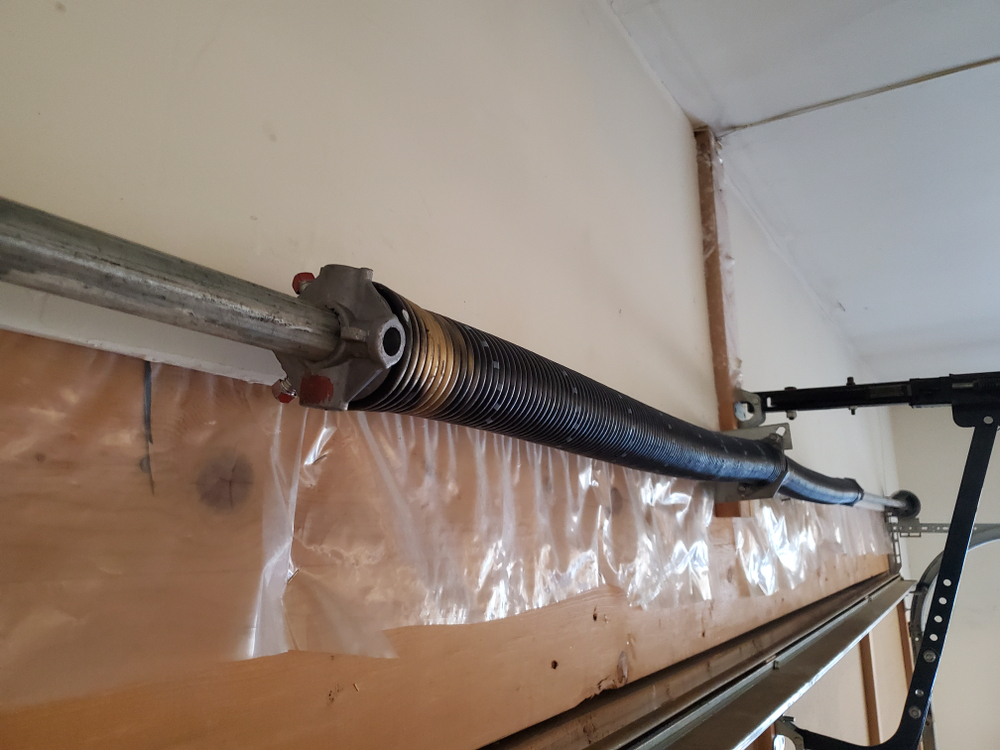
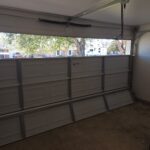
Before diving into the installation process, it’s essential to understand what garage door cables are and their role in the functioning of your garage door. Garage door cables are critical components that work alongside springs to lift and lower the door safely. They bear the door’s weight as it moves, ensuring a smooth and controlled motion.
Tools and Materials Needed
- Safety glasses and gloves
- Ladder
- Winding bars
- Adjustable wrench
- Socket set
- Locking pliers
- New garage door cables
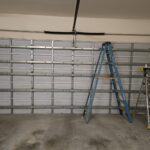
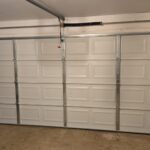
Step-by-Step Installation Process
1. Safety First
Before starting, ensure your garage door is in the down position and disconnect the power to your garage door opener. This will prevent any accidental activation during the installation process.
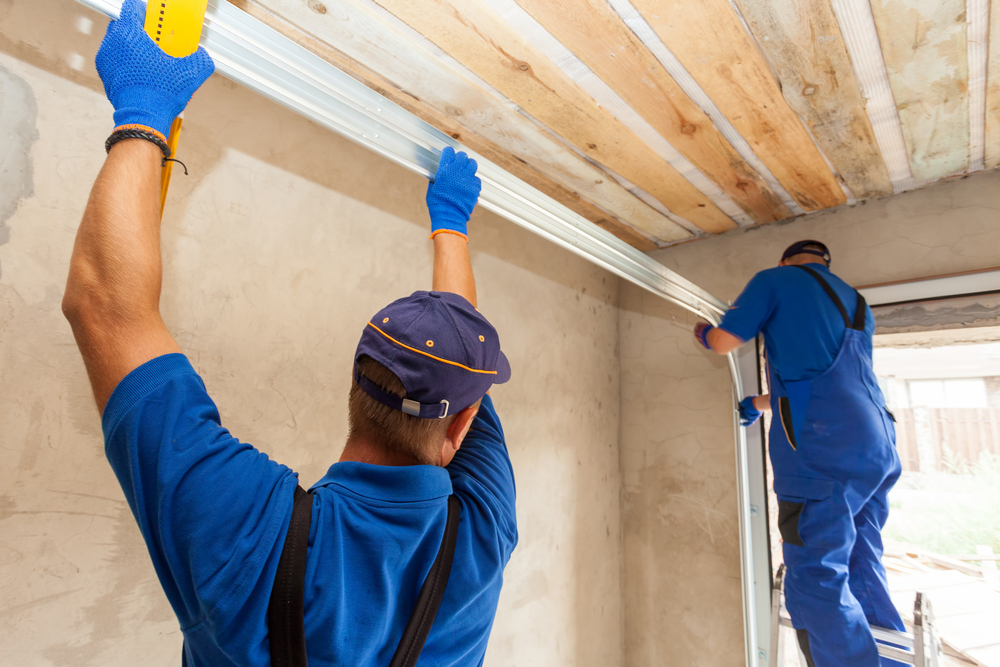
2. Secure the Door
Using locking pliers, clamp the door to the track above one of the rollers. This will prevent the door from springing up while you work.
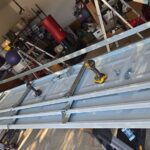
3. Release Tension
Carefully release the tension from the torsion spring using winding bars. This step is crucial as the springs are under high tension and can cause injury if not handled correctly.
4. Remove Old Cables
Disconnect the old cables from the bottom brackets and the drum located at the top of the door. Carefully unwind and remove them.
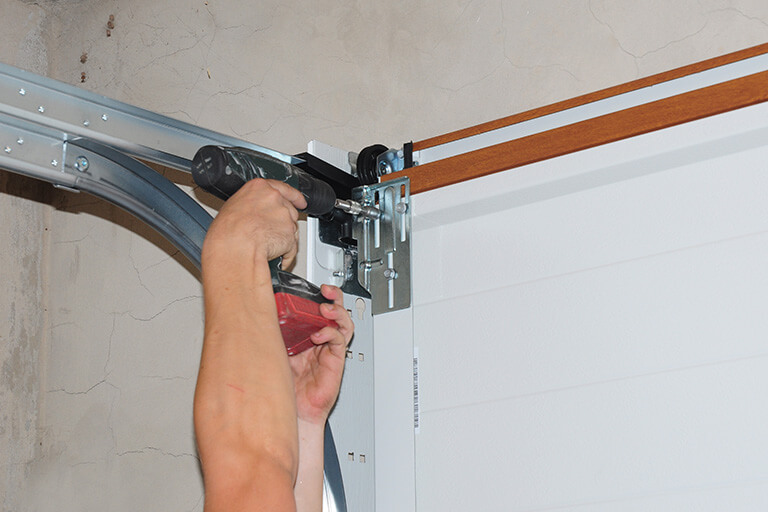
5. Install New Cables
Attach the looped end of the new cable to the bottom bracket. Then, thread the other end of the cable through the cable drum, ensuring it’s seated properly in the drum’s grooves.
6. Tension the Springs
Using the winding bars, carefully add tension back to the torsion spring. The amount of tension required will depend on your garage door’s size and weight.
7. Test the Door
Carefully remove the clamps and lower the door manually to check for proper balance and ease of movement. Make any necessary adjustments to the cable or springs.
8. Reconnect the Opener
Once you’re satisfied with the door’s operation, reconnect the power to your garage door opener.
Detailed Table: Installation Steps and Tips
| Step | Action | Tips |
|---|---|---|
| 1 | Safety Precautions | Always wear safety glasses and gloves. Disconnect power to the opener. |
| 2 | Secure the Door | Use locking pliers above a roller to prevent the door from moving. |
| 3 | Release Tension | Carefully release spring tension with winding bars. Never use screwdrivers or other tools. |
| 4 | Remove Old Cables | Disconnect from the bottom bracket and drum, then carefully remove. |
| 5 | Install New Cables | Attach the new cable at the bottom, then thread through and seat in the drum. |
| 6 | Tension the Springs | Gradually add tension to the spring with winding bars. Follow manufacturer’s guidelines. |
| 7 | Test the Door | Remove clamps and manually test the door’s balance and movement. |
| 8 | Reconnect Opener | Once satisfied, reconnect the power to the garage door opener. |
Why Choose Non Stop Garage Door?
At Non Stop Garage Door, we understand the importance of a properly functioning garage door for your home’s security and convenience. Our team of experienced and skilled technicians is committed to providing top-quality service and support. We use only the best materials and tools to ensure your garage door operates smoothly and lasts for years. Choosing us means choosing peace of mind, knowing that your garage door is in good hands.
Frequently Asked Questions
Why is it important to replace damaged or worn garage door cables?
Replacing damaged or worn garage door cables is crucial to prevent accidents and ensure smooth and safe operation. Worn cables can snap unexpectedly, leading to potential injury or damage.
Can I replace garage door cables myself?
While it’s possible to replace garage door cables yourself, it’s a task that requires a good understanding of garage door mechanics and strict adherence to safety precautions. If you’re not confident, it’s best to call a professional.
How often should garage door cables be replaced?
The lifespan of garage door cables varies depending on usage and environmental factors, but it’s a good practice to inspect them regularly and consider replacement every 5-7 years or at any sign of wear or damage.
What are the signs of faulty garage door cables?
Signs of faulty cables include fraying, rust, unusual noises during operation, and the door hanging at an angle or not opening smoothly.
Conclusion
Installing garage door cables is a task that, while challenging, can be accomplished with the right guidance and precautions. Always prioritize safety and don’t hesitate to consult or hire a professional if you’re unsure. Remember, well-maintained garage door cables are essential for the safe and efficient operation of your garage door. For expert assistance and more information, visit our blog posts on 24-hour garage door repair, best garage door installers in Houston, commercial garage door services, garage door maintenance, and garage door seal installation. If you have any concerns or need professional installation, contact us at Non Stop Garage Door. We’re here to ensure your garage door operates safely and efficiently.


")